Sunday 30 June 2013

Lights, Alarm, Carpets, etc

The alarm was installed on Friday 28 June 2013.

Most of our lights were installed on Saturday 29 June 2013. We’re going relatively green with mostly LED and ECO friendly choices.

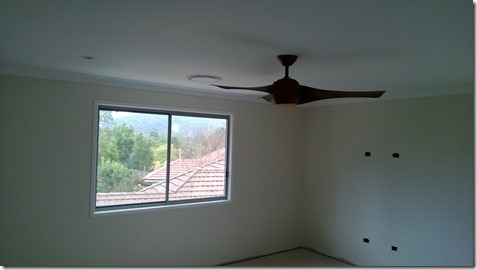
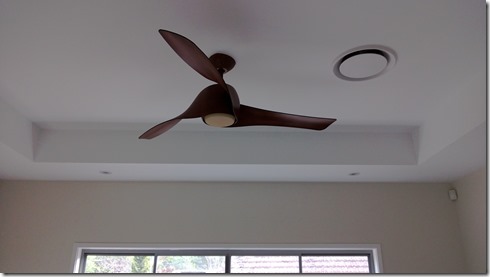
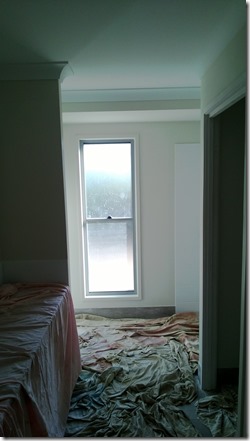
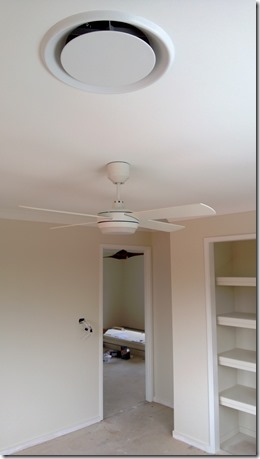
LED fan in Katie’s bedroom, looking towards the kids zone. The fan is probably a little too low, but that can be adjusted later.

WP_20130629_002

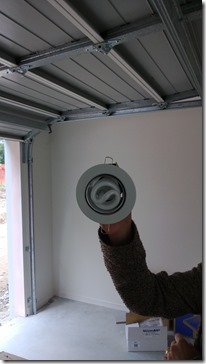
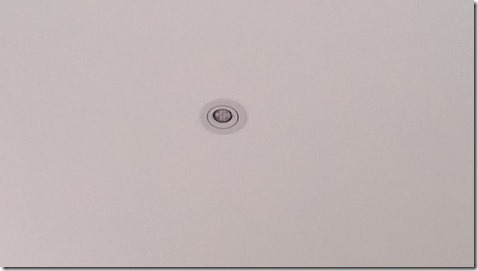
LED downlight. The beam angle on these downlights are not fantastic – we’re hoping they will work out as they were a last minute replacement (from our rapidly disappearing contingency budget!) for the builders range downlights.

WP_20130629_003

Builders range downlight.

WP_20130627_006

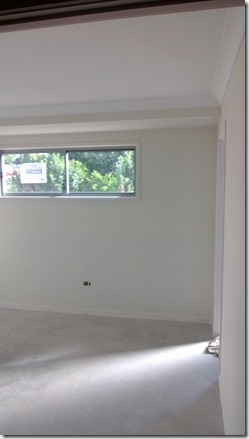
Kids zone

WP_20130629_001

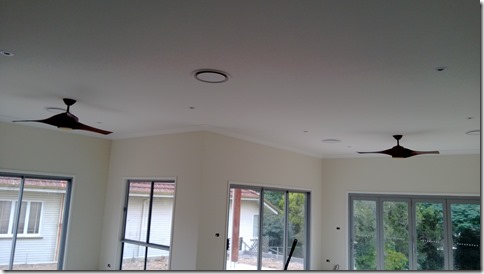
Family

WP_20130629_014

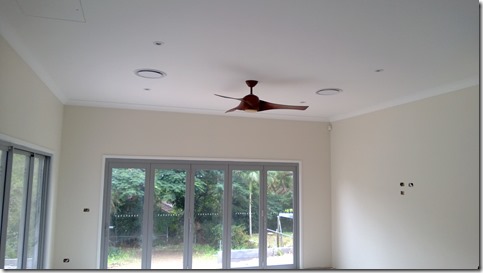
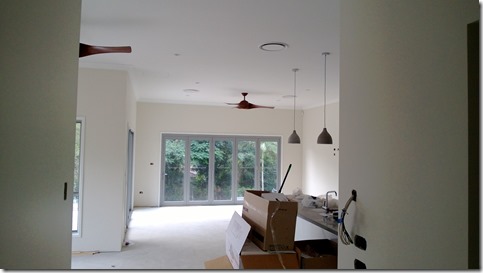
Family and dining

WP_20130629_018

Media

WP_20130629_024

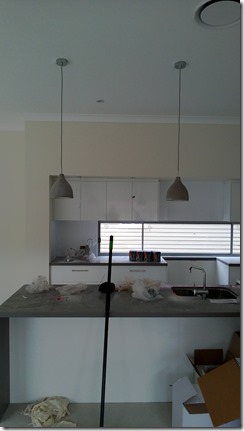
Kitchen pendants (2/3 installed when the photo was taken)

WP_20130629_025

WP_20130629_026

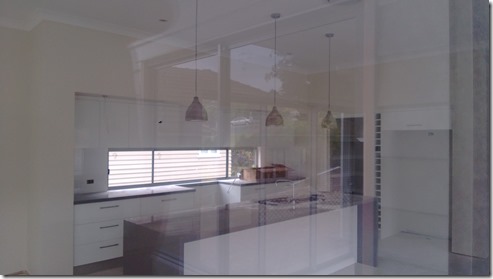
Photo taken through the stacker door (as we don’t have access to the house when the tradies are not around :().

WP_20130630_002

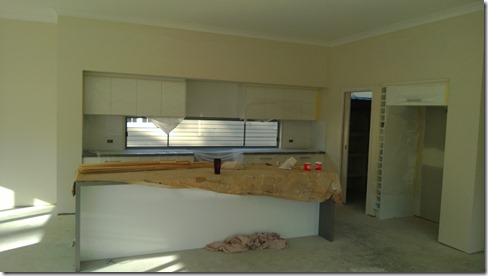
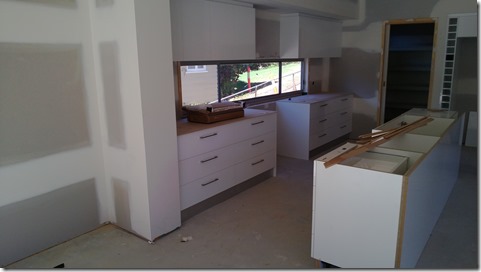
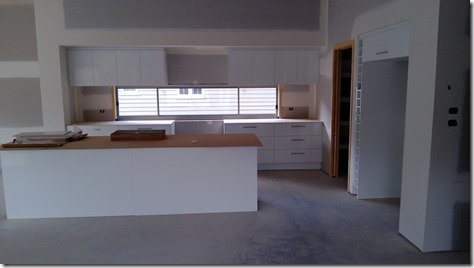
We think our kitchen will be pretty close to the kitchen that we roughly based ours on i.e. this one.

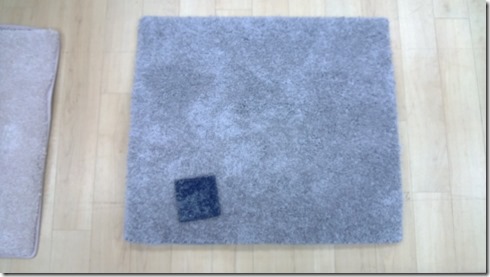
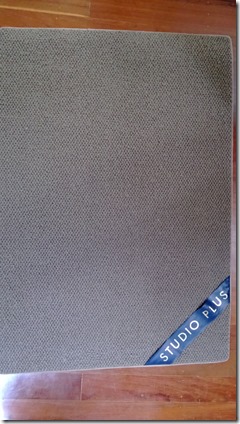
We ordered our carpets! Tick – another big item is off the looooong list. After a lengthy research period (25 minutes), we decided on the Cosy Comfort SmartStrand Silk range, narrowed down to two colours Riverstone (darker sample in the photo below) and Crystal Stream.
(PS. They’re not blue at all – funny how colours can show up completely different on computer monitors.)

WP_20130628_012

WP_20130629_008

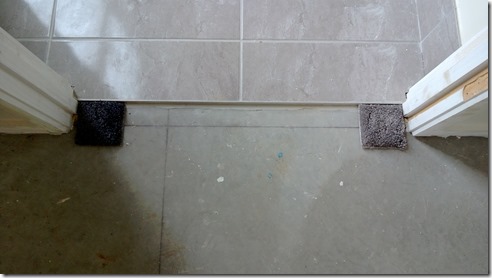
We went with Crystal Stream (on the right in the above photo), with a Cloud 9 underlay. Installation is booked for 22 July 2013.

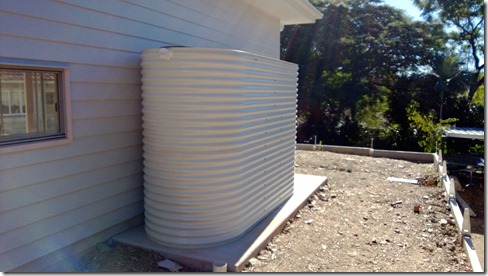
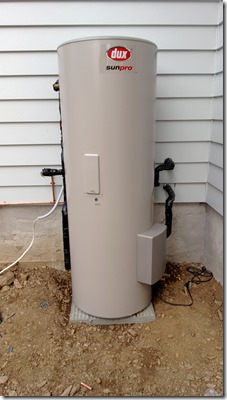
Water tank.

WP_20130625_001

WP_20130630_005

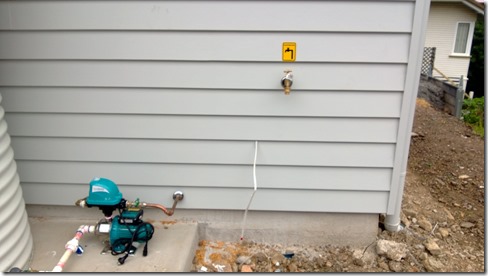
Solar water

WP_20130628_011

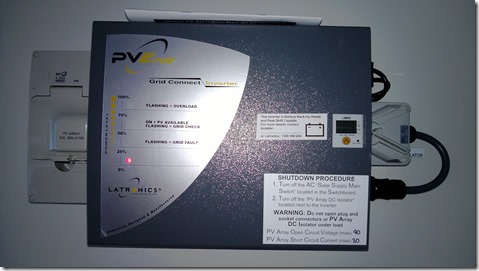
Solar power was also connected in the last week.

WP_20130628_010

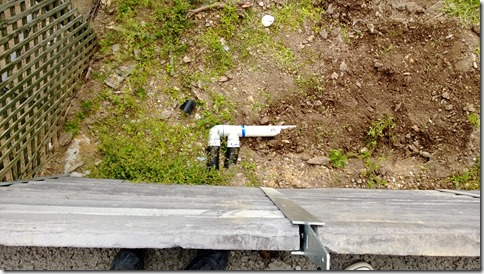
Retaining wall drainage is now linked to the site drainage. These pipes will be covered with soil.
WP_20130628_006

Saturday 22 June 2013

Paint and Bench Tops

We chose to change our bench tops from Essastone Piazza to Essastone Carbon due to the Piazza not being available in the country. We would have had to wait 5 weeks for the Piazza.

We also changed our paint colour from a Resene ‘bon jour’ like custom mix to Dulux White Duck Quarter.

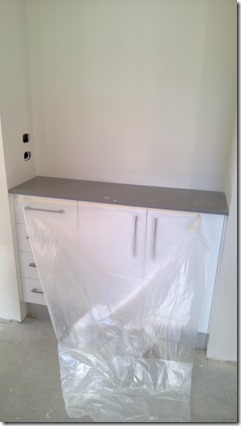
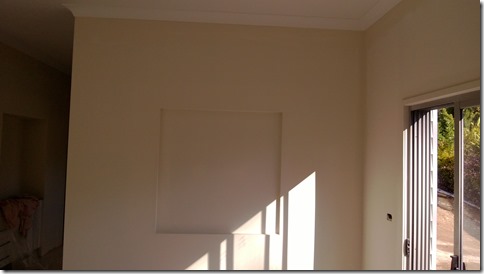
Niche cabinet

WP_20130622_027

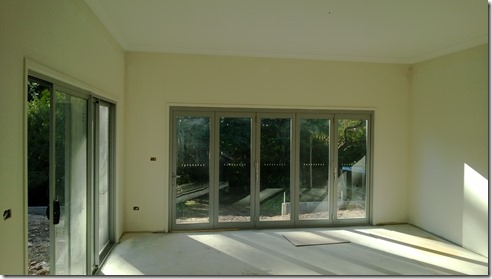
Family room

WP_20130622_024

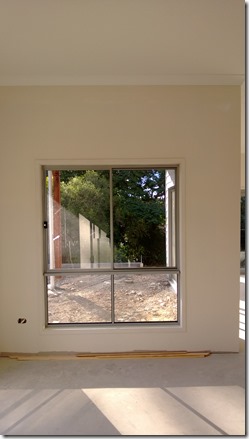
Dining room window

WP_20130622_023

Dining room niche

WP_20130622_021

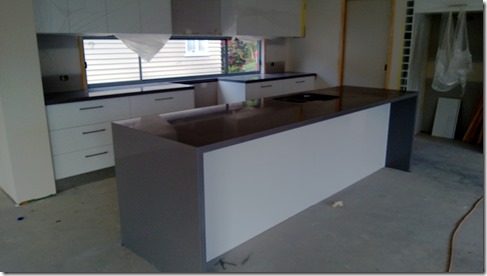
Kitchen

WP_20130619_006

WP_20130622_020

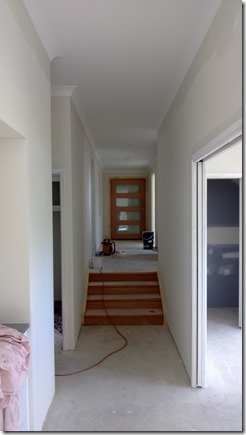
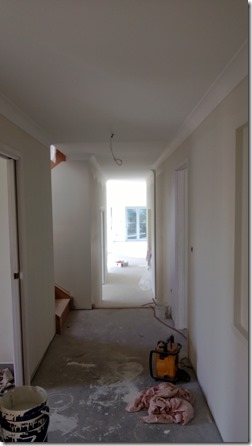
Hallway to front door.

WP_20130622_019

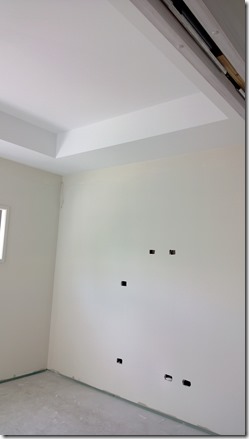
Media room

WP_20130622_013

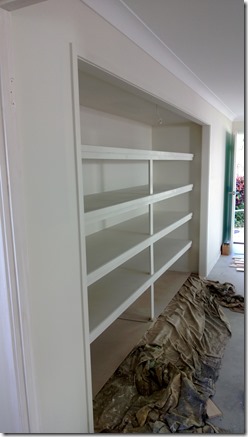
Garage shelves

WP_20130622_011

Powder room

WP_20130622_010

Bedroom 5

WP_20130622_009

Looking towards the family room.

WP_20130622_008

Friday 14 June 2013

We have electricity (and Tiles)!

The panels for solar electricity were installed on Friday (14/06/2013). It’s a good thing we were onsite as the contractor had no idea where his colleague put the wiring (which was installed during the frame stage)!

WP_20130614_019

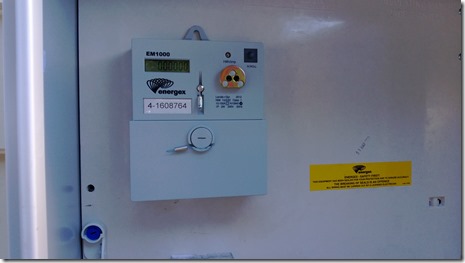
After netball on Saturday (15/06/2013), we noticed that our electricity was connected. The builder used power from our neighbour to get to this point in the build. Thanks Allan!

WP_20130615_001

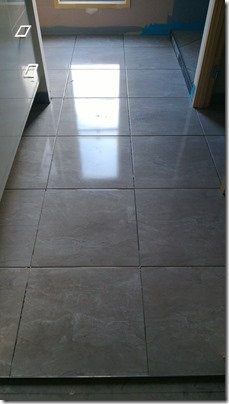
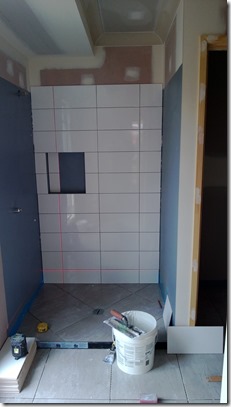
In the past week, the tiles were laid, scaffolding was removed, the painter polly filled the internal walls, trim and shelves. A plaster tradie was also around to fix the cornices in the media room and around the staircase. It is rather funny how the tradies all have their radios on at the same time – and all tuned to different stations. :)

WP_20130611_013

WP_20130612_004

Cool lazers being used, rather difficult to get the lines wrong, or not?

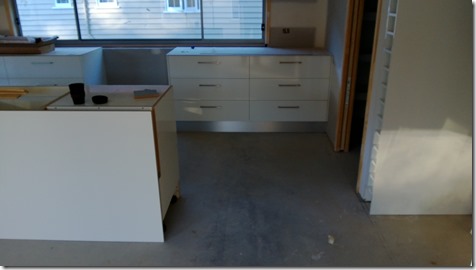
The kitchen guy was there on Saturday to correct the kickboards and ‘fix’ the pantry shelving. We are not very happy with the standard of the pantry, it’s basically just a bunch of free standing shelves – not exactly what one would expect in a butlers pantry. We will talk to the builder about this but we’ll probably have to add it to the rather long list of things that we’ll need to resolve afterwards.

WP_20130615_003

WP_20130616_001

We think our white cabinets looked a bit average without the brushed aluminium kickboards.

WP_20130611_002

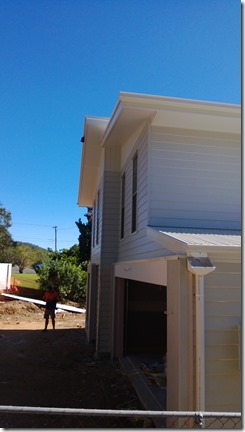
Render was also applied to the garage and feature window on the facade.

WP_20130614_014

WP_20130614_010

WP_20130614_001

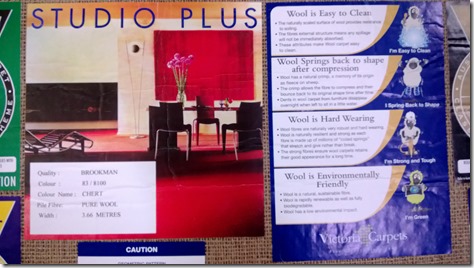
We’re considering the ‘CHERT’ carpet from Carpet Call.
WP_20130611_010

WP_20130611_011

Monday 10 June 2013

Retaining Wall

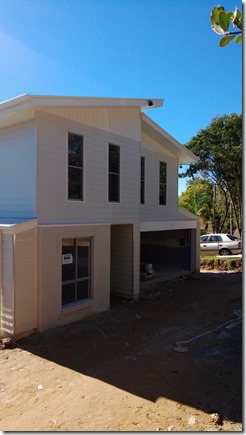
This photo shows an ongoing issue for us i.e. what to do with the gap? How do we best connect the house with the backyard?
(On a tiny budget. Before even looking at the gap, we’ve already exceeded our retaining wall provisional cost item i.e. the cost of a good 2nd-hand small family vehicle, by the high-end price of a new small family vehicle – we’d like to stop well before we hit the grand saloon comparison stages!)

WP_20130610_002

Below are the quotes and possible solutions.
(Apologies for some pretty bad pictures here)

1. Complete the wall with concrete sleepers, build a platform out with stairs leading down the side of the wall i.e.

image

Pros:

  • Cheapest ($9k)
  • Gets us to the backyard (which may be the future pool area)

Cons:

  • No engineering cost factored in – would need to be certified under the existing certification for the wall – which may mean an additional cost
  • Does not really connect the backyard – it would probably end up feeling like two separate properties.

2. Additional retaining wall bay and 2m wide concrete tiled stairs. Timber balustrade with stainless wire.

image

Pros:

  • Should look very nice
  • Will integrate the two areas without making it feel like two separate properties
  • Waterproofed

Cons:

  • Expensive (another new vehicle – $16k)
  • No engineering cost factored in – would need to be certified under the existing certification for the wall – which may mean an additional cost

3. Additional 800mm retaining wall bay on each side. 2.5m wide coloured, concrete stairs (Boral range). Timber balustrade.

image

Pros:

  • Should look nice
  • Engineering cost is also included
  • Will integrate the two areas without making it feel like two separate properties
  • Award winning, home show advertising, landscape company

Cons:

  • Reasonably expensive (student vehicle – $13k)
  • Not rendered
  • Not tiled
  • No stainless wire in the balustrade, timber only
  • No mention of waterproofing in quote
  • No allowance for rock excavation in quote

4. Quick, with a hint of dodgy concrete, core filled blocks with timber external stairs on steel frame.

image

Pros:

  • (Possibly) cheap ($4.3k for the core filled block retaining only – still sourcing a quote for the staircase)

Cons:

  • Will possibly not look good
  • Not rendered (yet)
  • Tricky dead space under staircase – we would actually prefer this being covered with concrete block work.
  • Timber stairs on steel frame may not be a good solution – can possibly get concrete formed stairs instead, but cost could end up being the same as the above two quotes?
  • No mention of waterproofing in quote

5. Complete the wall and forget about the extra 250-300sqm backyard…for now (~$5k)

6. Build a 1.8m high raised pool bang in the middle, use the pool walls to retain the 4.1m gap. Step down to rest of backyard down both/either side(s) of 8m long pool. (Unknown cost)

The saga continues…

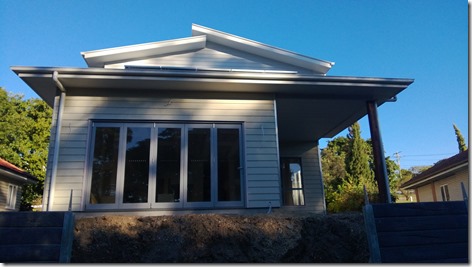
On the upside, we absolutely love the roof line from the back of the property!

Two Stages (Part 2)

Waterproofing

WP_20130603_002_thumb[1]

WP_20130603_006_thumb[1]

Niche cabinet. Polar white cabinets with brushed aluminium kickboards.

WP_20130605_010_thumb[1]

Powder room with floating cabinet.

WP_20130605_011_thumb[1]

En suite

WP_20130605_014_thumb[1]

Doors

WP_20130605_013_thumb[1]

Media room

WP_20130605_015_thumb[1]

Jaimie’s Wardrobe

WP_20130606_004_thumb[1]

Linen

WP_20130606_005_thumb[2]

Skirtings and architraves.

WP_20130606_008_thumb[1]

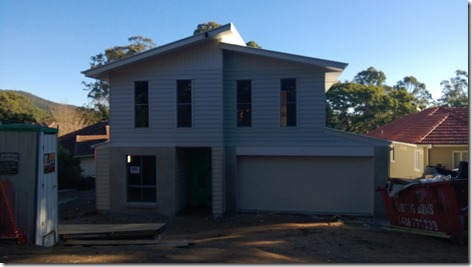
External Painting. Axon is surfmist, Scyon linea is 1/2 shale grey.

WP_20130606_013_thumb[2]

The LW made the call to paint the window trims surfmist.

IMG_9509_thumb[1]

Not the best photo, with the rain but the top floor is painted here.

WP_20130610_001_thumb[1]